
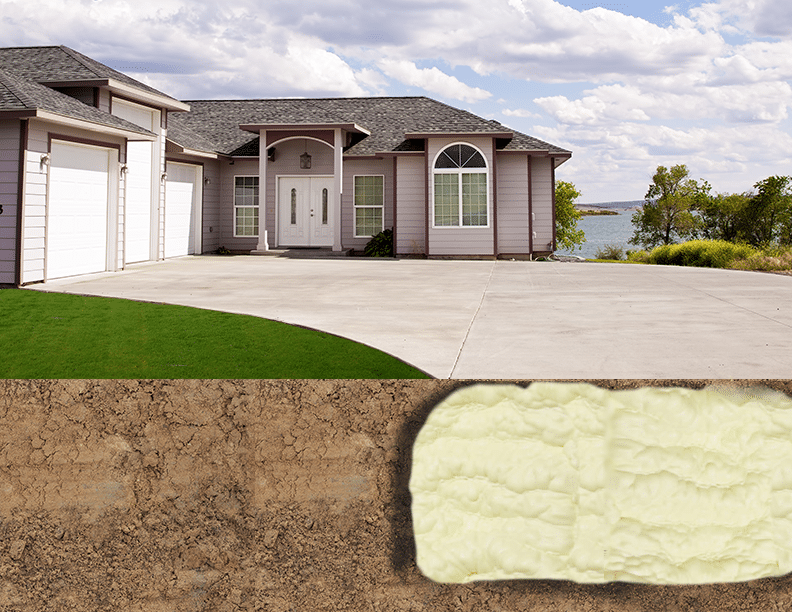
Unlike fine wine, almost any concrete work — a sidewalk, driveway, pool surround or foundation — tends not to become better with age. Concrete cracks and chips appear, it discolors, it crumbles or goes out of level.
In the latter case, you may be tempted to remove a sunken or unlevel slab and pour a new one, but there may be a faster and less expensive remedy for slab repair. Here, we outline the five basic steps most Florida concrete repair takes via three techniques of which concrete lift or slab jacking is usually the most preferred.
Step One – Inspection
Before proceeding with any concrete repair to level it or restore it to grade with surrounding slabs, the reason for out-of-level or sunken concrete must be determined. Furthermore, the condition of the concrete should be evaluated to determine if a concrete lift may be your best repair option.
Why Is Concrete Settling?
In many cases, the cause of unlevel concrete might be obvious. For instance, slabs adjacent to a large tree may be pushed up by the tree’s roots. Or a recent storm may have flooded the area and washed out supporting ground beneath the slab.
In most instances, however, the reason is that the original soil beneath the slab did not receive enough compaction at the time the concrete was installed. In Florida, it is also possible that sinkhole activity has created a cavity beneath the slab, which may present a larger issue.
Is It Worth Saving?
The concrete itself should be closely examined to see if its condition is acceptable for any of the methods listed here including the lifting process. Old concrete or concrete whose mix of sand, gravel, and cement was incorrect may not be salvageable. If this is the case, the job becomes one of remove and replace. If the concrete is not strong enough, then lifting it may result in further damage.
Step Two – Choosing the Correct Method
Your Florida concrete remediation contractor may suggest one of several approaches to your slab repair once it is determined that general lifting techniques are the way to proceed:
The Top Pour
The simplest lift method is simply to pour over the top of the old concrete if the top is at least three inches below the surface. A form is built on top of the sunken slab, filled with concrete and finished. This method’s disadvantage is that it does not correct the reason for the original slab’s settling, so it is typically a temporary measure.
Remove, Compact and Replace
Smaller sunken slabs can be physically removed so that the soil beneath can be leveled and compacted properly. Concrete sections may be cut out with a diamond-tooth power saw. Compared to other methods to be discussed, this slab repair technique is not appropriate for larger slabs, such as in a driveway, plus it risks breakage.
Chemical Grouting Lift
The best concrete repair lift method — the only one discussed from here on in — generally is less disruptive, typically requires no cutting, has a low breakage risk and offers a permanent solution. The technique of utilizing expansive polyurethane resin, known as chemical grout, being pumped beneath the slab under pressure.
Step Three – Prepping the Slab
Precisely positioned coin-sized holes are created either by using a diamond-tipped drill bit or a diamond core drill. If cores are drilled, then the cores can be saved for later plugging of the holes at the finish stage of the project. A professional slab-jacker knows just where to put these holes. Sometimes the holes are placed in concrete cracks or joints, so they are easier to hide during the finishing process.
Through these slab holes, deeper holes can be made with hammer drills into the ground or rock beneath. These holes will accept the pressurized grouting mixture. Then a self-expanding polyurethane resin is prepared for pumping into these cavities.
Step Four – Pumping the Lift Mixture
Special hydraulic pumps are used with hose attachments and “guns” at the end equipped with fittings that snugly fit the drilled slab holes. The mixture of resin is pumped in gradually. Since it is under pressure, it both compacts the soil beneath and lifts the slab.
By moving from one hole to another, the entire slab can be leveled evenly and gradually lifted into place. This procedure can be accomplished even on a large patio, pool or driveway slab.
Different contractors prefer different lift mixtures, but polyurethane resin has some distinct advantages:
- Fast Set – poly resin reaches final support strength in as little as 15 minutes
- Precise Lift – the fast set time facilitates accurate lifting of slabs without any settling
- Durable – the resin can never be washed out and is waterproof and freeze-proof
- Less Mess – compared to concrete grouts, polyurethane resin creates less clean-up
Step Five – Finishing the Surface
With polyurethane resin jacking, finish work can be started almost immediately. If drilled cores were made, these can now be put back in place using special adhesives. Their seams are grouted with either caulking or cement grout that matches the surrounding surface. Properly done, your lifted slab will blend in perfectly with its surroundings.
Professional Advice is Recommended
Although there are seemingly simpler concrete repair techniques compared to concrete lift mud-jacking or poly resin-jacking methods, in the hands of a professional these are the most cost-efficient solutions with long-term success.
In any case, consulting a professional concrete and soil remediation specialist in Florida is vital for determining the root cause of sunken or out-of-level slabs, which are a few cases that might indicate bigger problems. Then you can make an informed decision about how to proceed with slab repair by any of the processes described above.