
Standing water on your property is usually not a good sign as it’s an indication of poor drainage. We’ve discussed how installing a good gutter system is important to mitigate precipitation, but in this blog post, we’re taking a look at how installing a French Drain System can help remove excess water from your foundation.

What is a French Drain System?
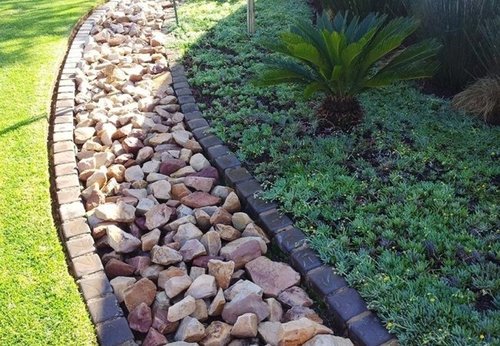
A French Drain System is a series of buried pipes that direct water away from your home and foundation. Buried pipes can sound like quite a project, but this kind of drainage system is easy to install, relatively low priced, and can help remove an excess of water from your property. This system relies on perforated pipes, gravel, fabric, and gravity. Let’s take a look at what materials you’ll need and the steps you can take to install these drains yourself.
Materials Needed to Install a French Drain
In order to complete a French Drain installation, you’ll need a few things.

•Landscape Fabric
•Perforated or Slotted Piping
•Shovel
•Gravel
Additional materials that are helpful are strings and stakes to mark the areas where you’ll install your drain system. It’s also important to check with your community specific drainage regulations as where you divert water could have impacts on your surrounding neighbors.
How To Install a French Drain
-
Identify the most effective areas for installation: Looking at your property, you may notice pooling water or areas close to your house that are consistently marshy. These would make good areas to add drainage to, but it’s also important to look at the surrounding properties to consider how your drained water could affect them.
-
Mark the areas: Once you found a path to lay your piping, mark the path with string and stakes or by marking the grass with something bright and apparent. Also consider the fact that water always takes the path that is easiest, so you’ll need to make sure your drainage path is graded so water flows away from your foundation.
-
Dig a trench: The depth and width of your trench depends on a couple of things – how bad the drainage is in the area is and what kind of foundation you have. Houses with basements might benefit from a deeper trench, while a slab-on-grade foundation wouldn’t need a trench deeper than two feet. Keep in mind while you’re digging, the path must be graded for an effective drainage system. Take measurements throughout the process to ensure a slope.
-
Lay your fabric: Cutting and laying fabric throughout the length of your trench is important to maintain the gravel integrity and help promote water flow.
-
Add light gravel: Adding a little gravel before the piping helps prevent settling, where your piping sinks into your soil
-
Add piping: Add your slotted or perforated piping at this point and check for a grade.
-
Add final layer of gravel: Some people stop here with exposed gravel, but you may see others adding another layer of landscaping fabric on top as well as a top layer of sod to hide the piping. It depends on the look you want for your system.
And that’s all it takes to install a French Drain System. Remember to look for problem areas, check with your community guidelines, and if you are able to install the system, to grade the piping. You can take these easy installation steps to make sure your property and its foundation are properly drained.